Saturday, March 23, 2013

Sitges, continued.

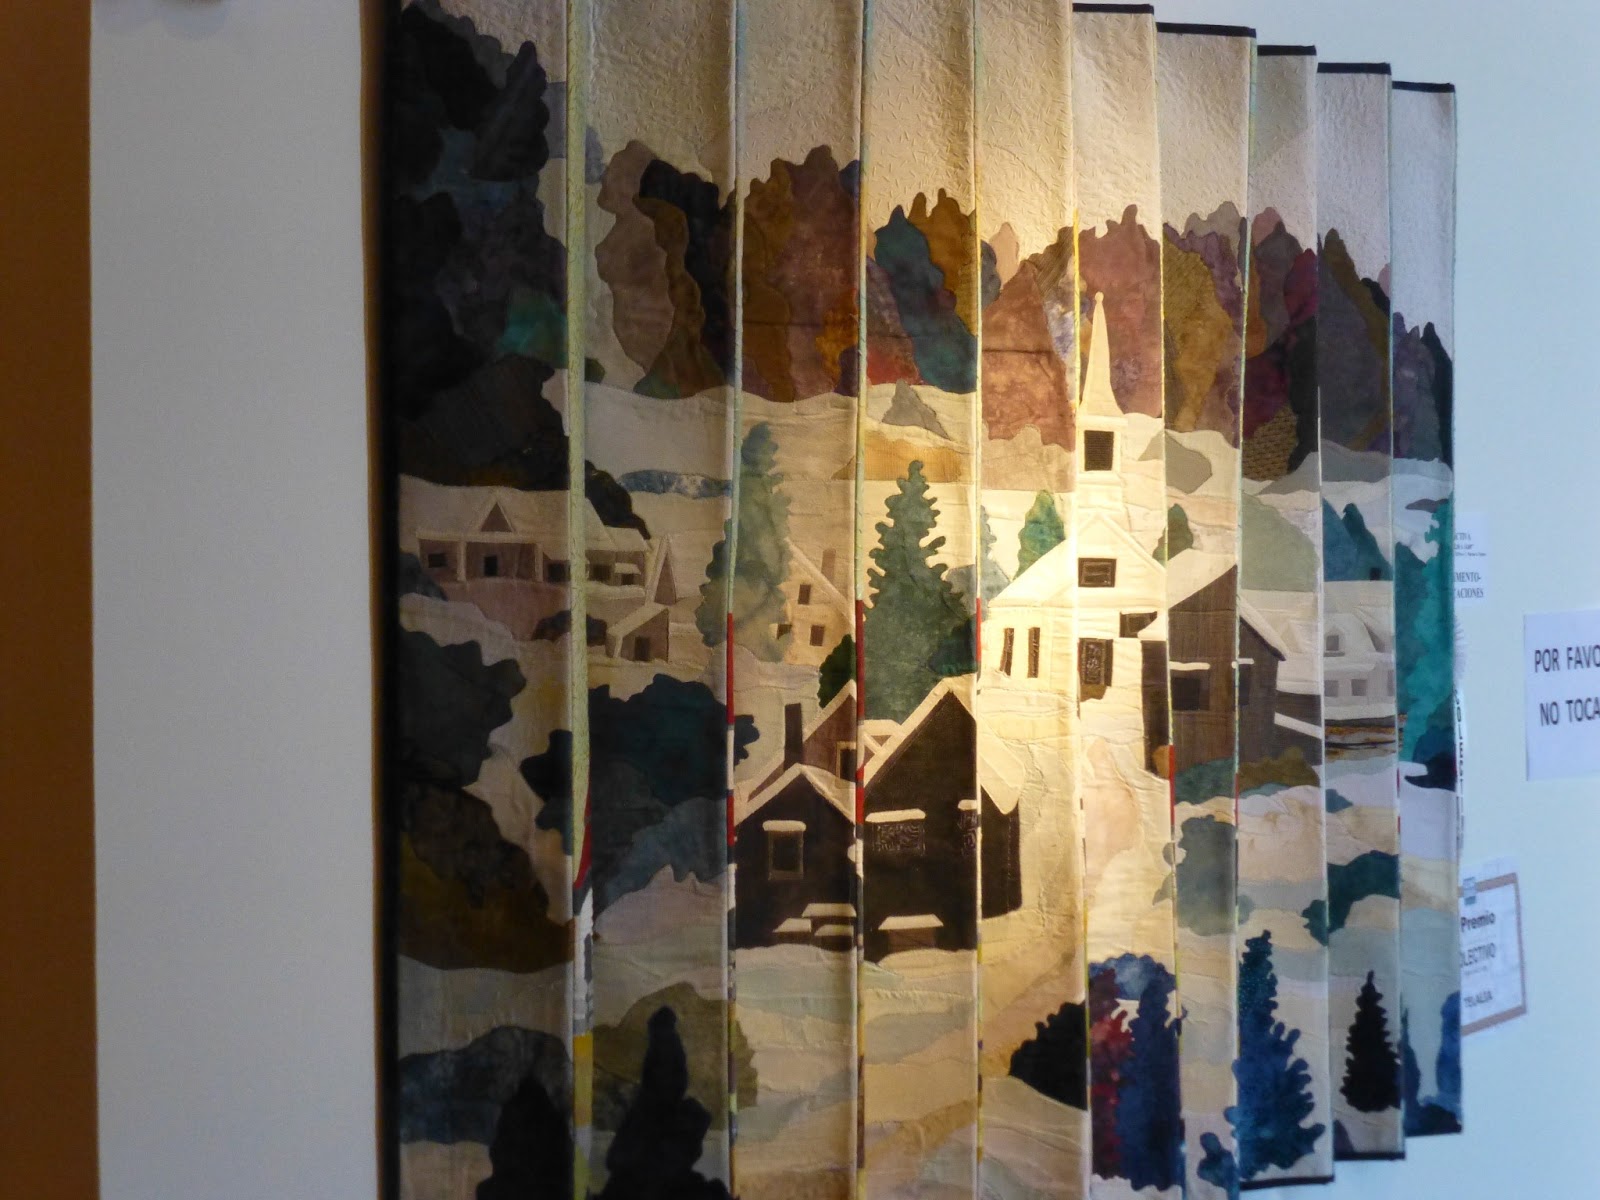
The guest exhibitions were really my favorites, partly because I knew of many of the featured quilters and because one could see the extent of their work from 1998 onward.

Keiko Goke from Japan had some very bright quilts, which caught the eye of many observers. I especially like her liberated approach to quilting - right up my alley.  Keiko has worked with Gwen Marston and it shows!

Title: To those who become the winds  (made after the Tsunami, which hit Sendai, Keiko's home)

double wedding ring

Cactus

another post-tsunami quilt, "Can flowers grow in the sea?"


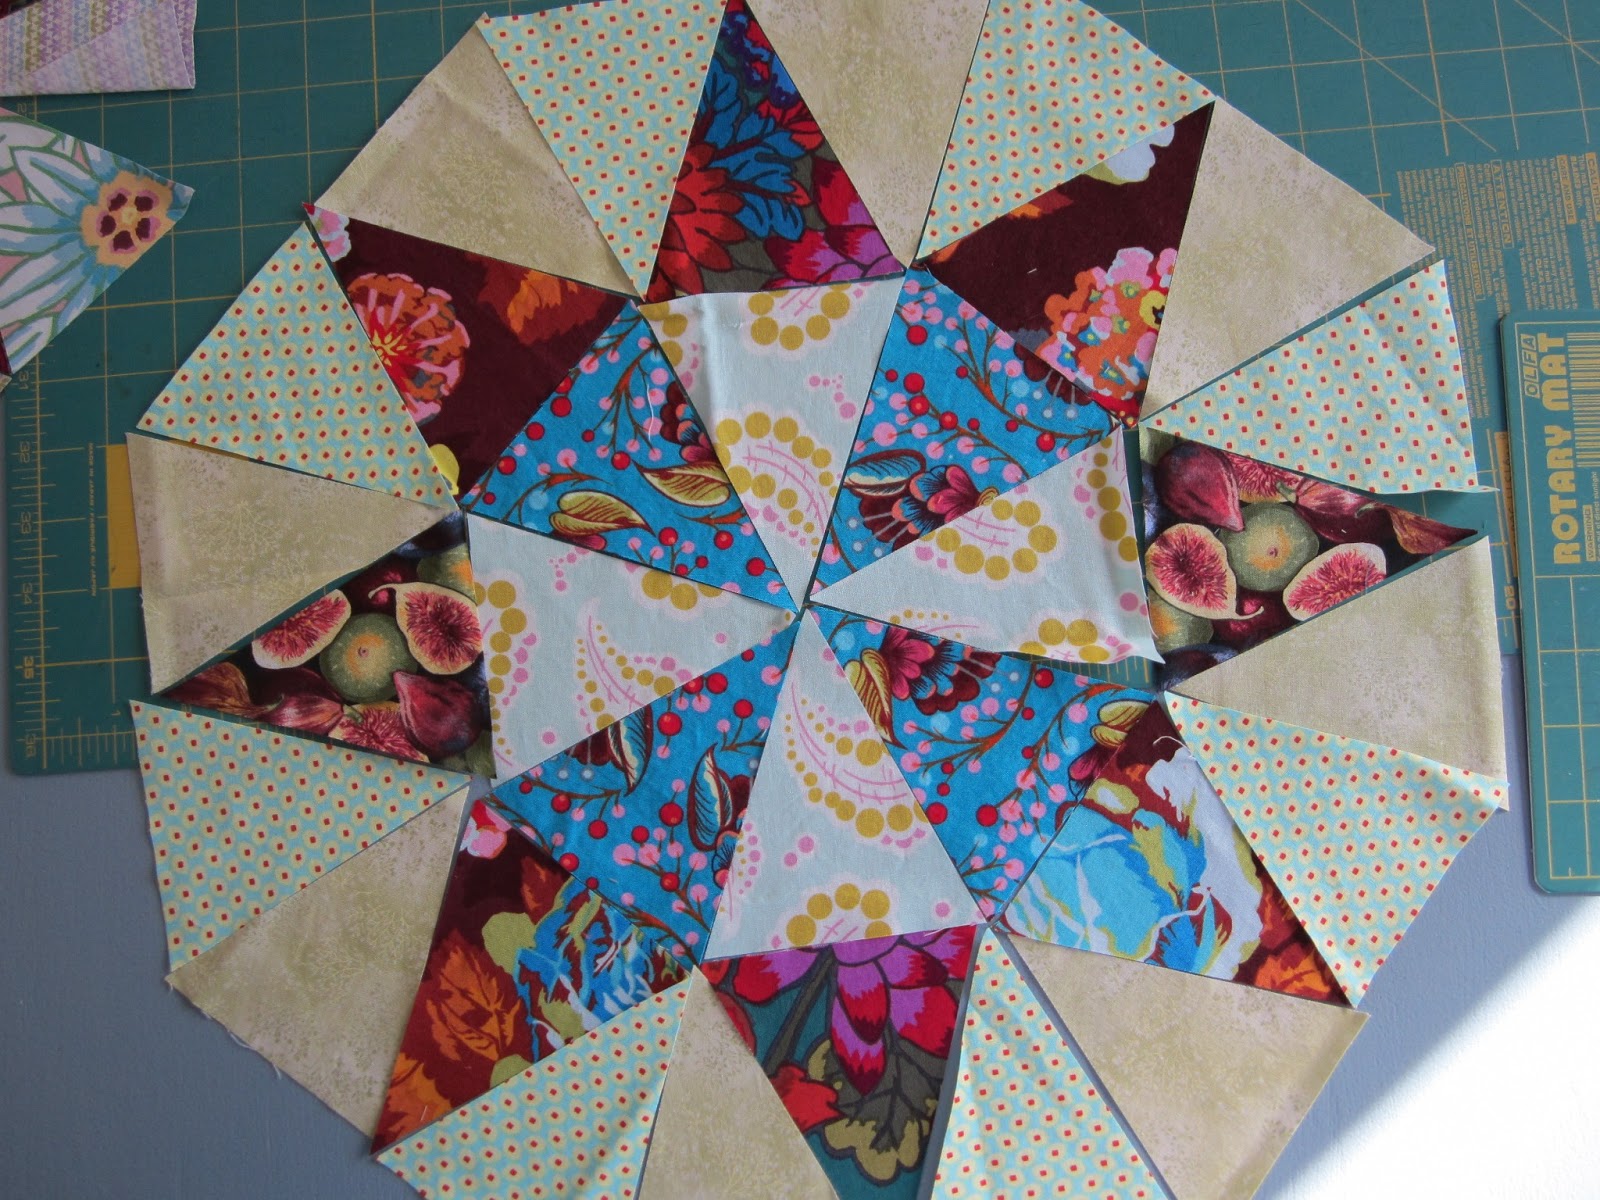
Libby Lehman,  thread painter extra-ordinaire. I loved the transparencies she created.  My favorite is shown below.  Favorite because I am currently working with radially symmetrical shapes!
Mushrooms

close up of above quilt
ditto


It seems ironic that I should travel to Spain to see work done by quilters from the USA, especially Pat Holly, who lives here in Ann Arbor.  Believe it or not, I had never seen Pat's work except in magazine photographs.  It is stunning and so precise.  (Unfortunately, I did not get photos of Pat's quilts because of the lines waiting to get into her exhibit on the day I was photographing.  But, I have seen that Keiko Goke has showed Pat's work on her blog, Libby's also,  should you want to see them.

More tomorrow.....


Friday, March 22, 2013

Sitges - Spain

I have just returned from a trip to Spain to visit my sister.  I had planned the trip to coincide with the International Patchwork Festival in Sitges, which is on the Mediterranean Sea, about 1/2 hour south of Barcelona. We took the high speed train from Madrid to Barcelona.  In Sitges we stayed in an apartment belonging to the family of my sister's daughter-in-law. My sister is not a quilter, but she gamely came with me and enjoyed seeing all the different quilts.  Her comment on the first day was that she was amazed at the scope of the art;  that one can make quilts in any fashion, depicting just about anything.
There was a judged show of quilts made by members the Spanish Association of Patchwork - a country-wide guild.  There were seven other exhibits of the work of expert quilters from around the world, including Keiko Goke, Maria Luisa Gutierrez, Pat Holly, Libby Lehman, Nancy Crow, Quilts of India, and Quilts of Japan.  Each exhibit had its own venue in different locations around Sitges.  This made for lots of walking and a bit of map reading and exploring (signage wasn't that great), but the greatest benefit was the dispersal of the crowds of people so that one could enjoy the quilts without too many people in the same place at once.  The exception would be Saturday, when there were lines to get into each venue.

Here are three favorites from the judged show.  There were many very complex quilts, but these were the ones I liked the best.  (I will post pictures of the rest of the exhibits soon.)


titled: Aurora Borealis

the view from the right side of the quilt

same quilt as above, viewed from the left.
title: Azteca

same as the above showing hand quilting.


Friday, March 1, 2013

Quiet Time ?

Since the last post I've been rather quiet, but that doesn't mean I've not done any quilt related stuff.  In fact, it seems to me that is all I've been doing!  Just haven't felt like blogging.

Reversible Quilt 
Back in October I blogged about cutting fabric to make reversible quilt blocks.  I made lots of them, gave away some as coasters. The rest I sewed the rest into the small quilt shown below. It measures 35 x 40 inches.    It is exactly the same on the back as on the front.  Instead of whip-stitching each block together, I zigzagged the edges.  I had a hard time seeing the edges as they butted up to one another, because I was sewing similar colors together.  I figured out that a seam the width of my presser foot was a perfect guideline to follow while zigzagging. This also helped to flatten the edges somewhat, so they didn't tend to fold over on each other too much.  (The folding over bit was a problem the first few times I tried this method.)  I tied the center of each square just to keep it from puffing up too much.


DNP
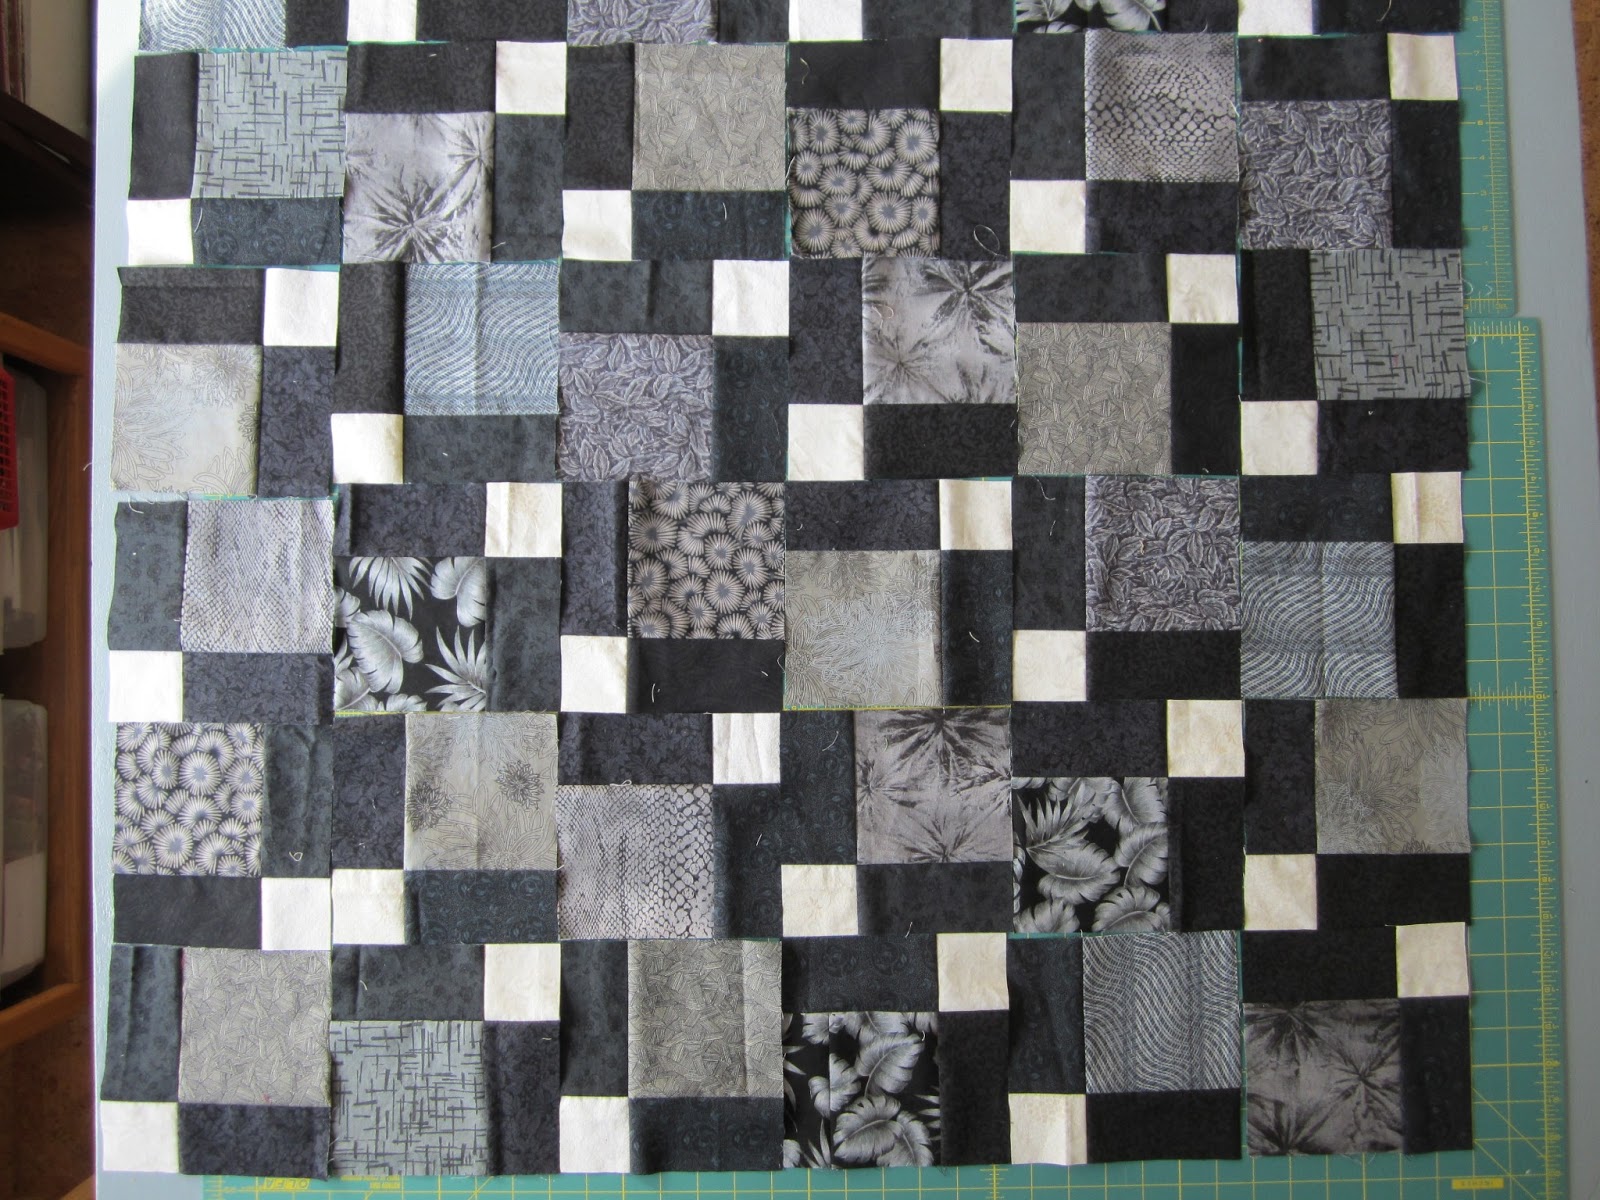
I played with disappearing nine patches and color.  The first is what I would call a traditional disappearing nine patch, using a limited palette.


The second one I constructed using the "crazy" ninepatch method (presented by Fons and Porter quite a few years back) and more recently as a tutorial on Oh Fransson, by Elizabeth Hartman.  After I constructed the blocks, I cut them as I would for a DNP and sewed them back together.


Scrap Attack
Scraps were taking over my sewing table. The pieces were of varying heights - from 1.75" to 3.0" unfinished. I sorted them all then sewed those of similar heights together in long strips. Then I incarcerated them behind horizontal bars.  They can't get away now.


Behind Bars


Back to School
I have devoted the biggest chunk of my recent quilting efforts to an online course at Quilt University.com.  It is Elizabeth Barton's class, Inspired to Design.  This is a very good course.  I don't have an art background and don't aspire to be an "art" quilter, but I do like to learn new approaches and  techniques. This class takes an artist's approach. That is just fine by me. I've been selecting photos for inspiration, developing a main idea,  making sketches of all sorts, learning about colors and how they work together, planning a value sketch so that I end up with a balanced piece of work, picking out potential fabrics that fit the main idea.  No sewing, yet.  The next lesson will introduce that aspect and I get to put all the pieces together.  That will be the topic for the next blog or two.

Glass flowers by Dale Chihuly - Seattle Center
 This is my inspiration photo....


Friday, January 4, 2013

So what did I do with that BIG made fabric?

 I made a BIG quilt from blocks of Triangles Galore  (Victoria has a tutorial for them in her header). I loved making these blocks because I got to play with lots and lots of different fabrics, in combinations one might never expect to put together.


just a few of the Triangles Galore blocks I made..
Even though V. talks about using made fabric to make some of the small triangles in the block, I ended up NOT doing that (except for maybe four blocks).  I decided the huge variety of fabric I used in making these blocks was enough busy-ness for the center.   (By the way, I made all these blocks this past spring and they sat in the closet waiting for the next step, which I began over the recent holidays.)

I set 25 blocks (14.5 inches square each) on point.  HMMMM.  Now I needed made fabric for the corners.
And each corner measured about 51" x 51" with a diagonal of about 73".  That took some doing.

Here's a photo stream of what ensued.  Enjoy!

cleared living room.  used sticks from the basement to get an idea of size and how much made fabric I needed.

all four corners attached.  Need trimming


used lumber to check for  a straight line and stuck pins along the inside edge of the lumber.

Marking the line an old carpenter's trick.


preparing the chalk line - no chalk? no problem . I used baby powder!

holding the string steady and tight


snapped

My helpers- this was a two person project.

John - alright... now what?

Poppy - who herds us everywhere


trimming

VOILA!
this gives you a feel for the size


outside picture


One final note.  With made fabric pieces going every which way, there are inevitably bias edges along the outside edge.  To minimize stretching, I sewed rickrack along the edge edge. When I ran out of rickrack, I realized that I have strips of selvedge that I saved to tie packages, so I sewed that to the remaining edges. Sorry, I don't have a picture.  These are temporary stabilizers until this baby is quilted and bound.... hmmm.  Should I hand quilt this???? I'm tempted!  I'm also a wee bit crazy!

I'd like to thank V I C T O R I A!  None of this would have happened without her influences.


Thursday, January 3, 2013

Making BIG "made fabric"

I've been working on a project that needed made fabric.  And I needed a lot of it.  Since the made fabric had to cover large areas, I decided to use big pieces of fabric.  Big for me is anything bigger than 4 inches wide!  Even 4 inches seems "big".   Compare "big" with my usual bits in the picture below.


I tried different ways to do it and refined my technique as I went along.  I have been using made fabric in quilting for some time now, but if you need inspiration or directions on what to do be sure to get Victoria's new book, 15 Minutes of Play.  It is chock full of ideas.

First I pieced the fabric together free form.  This took a lot of time and I was never sure just how much of my "area" I was covering.

Then I tried paper piecing - actually sewing onto newspaper pages.  That worked ok, but I found the paper slipped easily on the  sewing machine, so that some of the pieces did not lie flat.

Finally I simply used a sheet of newspaper as a template and took fabric swatches and lay them over the paper in various angles. That gave me a good sense of how much fabric I needed to cover the paper.  Then I could mark my seam and cutting lines of each fabric (with soap) so that I could maintain the angles I set them at.  I found I could manipulate sections of made fabric that were about the size of a sheet of newspaper, so I made about l5 sheets worth of made fabric.


just a fraction of the made fabric I needed.  
So  what now?  I'll show you tomorrow!

Tuesday, November 20, 2012

Slow Quilting

Some of you may know "slow quilting" as a key word used by Rayna Gillman in her book, create your own free-form quilts.  Last spring I made a lot of strip units (strip therapy) and I've been slow quilting with them for the past two to three weeks.

This is a new process for me and it does require patience.  I would move a piece, or remove it, and then leave the result hanging on the wall for a while.  Every now and then I'd move, add, or subtract, slash, and always ask "what if?"  I even contacted Rayna and she gave me pointers and encouragement.  I found it hard to create when I didn't know what I was creating.  I am so used to working with a theme in mind.  In the end, I decided I was just trying to find a harmonious arrangement for the strips, shapes and colors I had chosen to use.  One of the rewards was using "ugly" fabrics and actually liking them!


Here is how the composition came together...


Strike 1

Strike 2


Ta- Da!

I will be doing some more strip therapy and making more of these compositions.  Another way to play!

Monday, November 19, 2012

Sandy Relief Quilt

This quilt is now bound and on its way to help with the Sandy Relief efforts.  I backed it with flannel.  It will keep someone warm.


I sent it to   the organization that Victoria works with
                                                                 Acacia Network
Attn: Pete Gonzalez
311 East 175th Street
Bronx, NY 10457
Note:  the deadline for the quilt drive is Dec 7th.