Showing posts with label Elizabeth Barton. Show all posts

Monday, July 11, 2016

Working in a Series - Buoys

I recently completed an online course taught by Elizabeth Barton called Working in a Series.  The course is offered through the Academy of Quilting.  The course is excellent and I've never experienced an on-line quilting teacher as thorough or as encouraging as Elizabeth.  This is the third class I've taken from her. Previous classes were Inspired to Design (I took this one twice), Basic Dyeing for Quiltmakers, and Abstract Art for Quiltermakers (I audited this).  All her courses are excellent.

Back to Working in a Series.  This class involves selecting a single theme and making a series of quilts on that theme.  My theme was buoys.  I am interested in the various shapes, angles, patterning that one might find when buoys are all piled up in a jumble. I had made a piece featuring buoys in the Inspired to Design class and wanted to explore it more.

First we made sketches.


Then I rendered some of my sketches in water color  and some in acrylics before I even selected fabric.  I found doing so helped me quickly determine where value problems might occur . (Yes, I have done value studies with light, medium, and dark pencils and those work well. But I found that often when working with color, one doesn't realize how tricky values and temperature can be.)  The color sketches also made "trouble shooting" easy.  I could post my piece on the classroom forum and Elizabeth was able to critique it and make suggestions. Thus corrections or changes were easily incorporated without the struggle of having to take apart a fabric piece.
Here is an example:
acrylic sketch with chalk marks

After seeing this sketch (without the chalk marks), Elizabeth pointed out that the orange buoy in the middle is too large and also the wrong color.  The warmer orange pushes forward against the light yellows.  I had wanted that buoy to be in the back ground. She also suggested that the background space needed to be a bit more obvious.

I drew possible changes with chalk on the painting and after a couple more discussions with Elizabeth via the forum I came up with a solution that worked and I made up with fabric. (see below)


Buoys #1 (approximately 18"x18")
The stripes on the large buoy were made by sewing a lot of small pieces of fabric together to get the shading and variations of color, which is not as apparent in the other four buoys.  By selecting cooler colors and aligning the buoys in different angles I was able to get the back buoys to recede .  The pieces are all raw-edge appliqued with a small blanket stitch, sewn on to a muslin foundation.


The next two of the series are presented below-  sketch first, then the fabric rendition.
sketch Buoys 2


Buoys #2  (18" x 24")


sketch Buoys #3


Buoys #3 (17" x17")


I hope in the course of the year I will complete the next three of the series AND quilt all six of them.  But, don't hold your breath!  I have a wedding quilt to make in the meantime!

Saturday, June 15, 2013

A little too quiet..

But, I've been busy in "school".    I took an online course through QuiltUniversity.com on how to photograph quilts. Janice Baehr taught it.  It wasn't the popular "take it outside" approach. It was the studio approach.  My living room turned into a photographer's studio for a month. My husband lashed together a hanging system that tied to the stair railing.  I hung a queen size sheet from the top rail and a couple of chains and hooks and expandable shower rod allowed me to hang the quilt at whatever  height was needed.   I learned to play with lighting and get better balance of light and shadows so that the quilting would show up.  I also learned tricks of how to hang quilts for photographing them when you don't have quite enough room.  I became somewhat more familiar with my camera, though most of the time I used the auto exposure setting.   My goal is to slowly re-photograph all the quilts I have here and make a really good record of them.
Set up for photographing larger quilts.  Hang the quilt horizontally and rotate the picture so the quilt is vertical. 

Photography set up for smaller quilts with light borders.


By the way, Quilt University is closing come this December.  It's founder, Carol Taylor, passed away this past winter and her husband made a valiant effort to continue in her shoes, but found it to be too much.  

This past month, I  repeated the class I took last fall,  Inspired to Design.  I was surprised at how much easier it was for me the second time around.  Experience does count for something!  Elizabeth Barton teaches this course.  She now has a book out on that topic,  which is excellent. You can order it from her -( check her blog).  Her blog, which is interesting to read.  Lots of thought provoking observations.   

I got my piece all sewn up. It is resting  on the design wall as I teach myself a some basic machine quilting tricks. ( I've never done that!) 


Buoys - and shadows.   (15" x 15")

machine applique, folded edges, tiny zig zag stitching


School is over for me and I'll be on my way to Maine, soon.  I'll post once more, before I leave.


Friday, March 1, 2013

Quiet Time ?

Since the last post I've been rather quiet, but that doesn't mean I've not done any quilt related stuff.  In fact, it seems to me that is all I've been doing!  Just haven't felt like blogging.

Reversible Quilt 
Back in October I blogged about cutting fabric to make reversible quilt blocks.  I made lots of them, gave away some as coasters. The rest I sewed the rest into the small quilt shown below. It measures 35 x 40 inches.    It is exactly the same on the back as on the front.  Instead of whip-stitching each block together, I zigzagged the edges.  I had a hard time seeing the edges as they butted up to one another, because I was sewing similar colors together.  I figured out that a seam the width of my presser foot was a perfect guideline to follow while zigzagging. This also helped to flatten the edges somewhat, so they didn't tend to fold over on each other too much.  (The folding over bit was a problem the first few times I tried this method.)  I tied the center of each square just to keep it from puffing up too much.


DNP
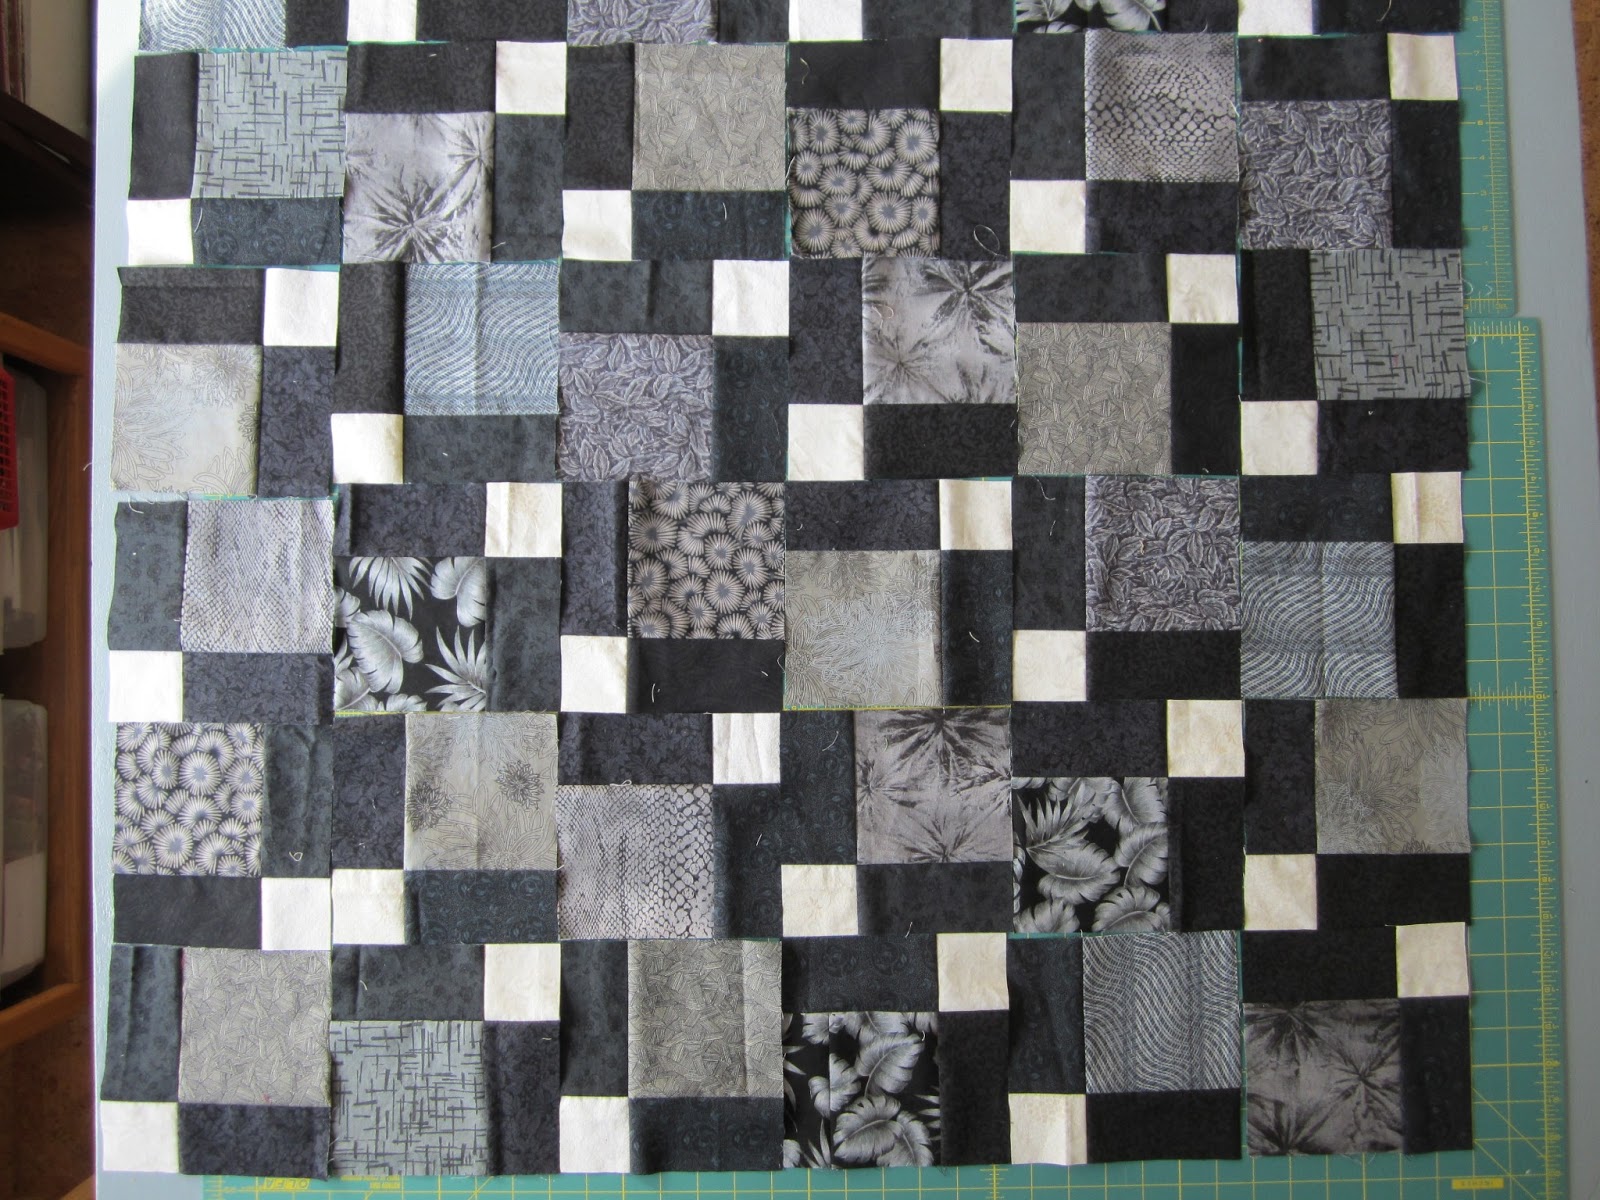
I played with disappearing nine patches and color.  The first is what I would call a traditional disappearing nine patch, using a limited palette.


The second one I constructed using the "crazy" ninepatch method (presented by Fons and Porter quite a few years back) and more recently as a tutorial on Oh Fransson, by Elizabeth Hartman.  After I constructed the blocks, I cut them as I would for a DNP and sewed them back together.


Scrap Attack
Scraps were taking over my sewing table. The pieces were of varying heights - from 1.75" to 3.0" unfinished. I sorted them all then sewed those of similar heights together in long strips. Then I incarcerated them behind horizontal bars.  They can't get away now.


Behind Bars


Back to School
I have devoted the biggest chunk of my recent quilting efforts to an online course at Quilt University.com.  It is Elizabeth Barton's class, Inspired to Design.  This is a very good course.  I don't have an art background and don't aspire to be an "art" quilter, but I do like to learn new approaches and  techniques. This class takes an artist's approach. That is just fine by me. I've been selecting photos for inspiration, developing a main idea,  making sketches of all sorts, learning about colors and how they work together, planning a value sketch so that I end up with a balanced piece of work, picking out potential fabrics that fit the main idea.  No sewing, yet.  The next lesson will introduce that aspect and I get to put all the pieces together.  That will be the topic for the next blog or two.

Glass flowers by Dale Chihuly - Seattle Center
 This is my inspiration photo....