Since the last post I've been rather quiet, but that doesn't mean I've not done any quilt related stuff. In fact, it seems to me that is all I've been doing! Just haven't felt like blogging.
Reversible Quilt
Back in
October I blogged about cutting fabric to make reversible quilt blocks. I made lots of them, gave away some as coasters. The rest I sewed the rest into the small quilt shown below. It measures 35 x 40 inches. It is exactly the same on the back as on the front. Instead of whip-stitching each block together, I zigzagged the edges. I had a hard time seeing the edges as they butted up to one another, because I was sewing similar colors together. I figured out that a seam the width of my presser foot was a perfect guideline to follow while zigzagging. This also helped to flatten the edges somewhat, so they didn't tend to fold over on each other too much. (The folding over bit was a problem the first few times I tried this method.) I tied the center of each square just to keep it from puffing up too much.
DNP
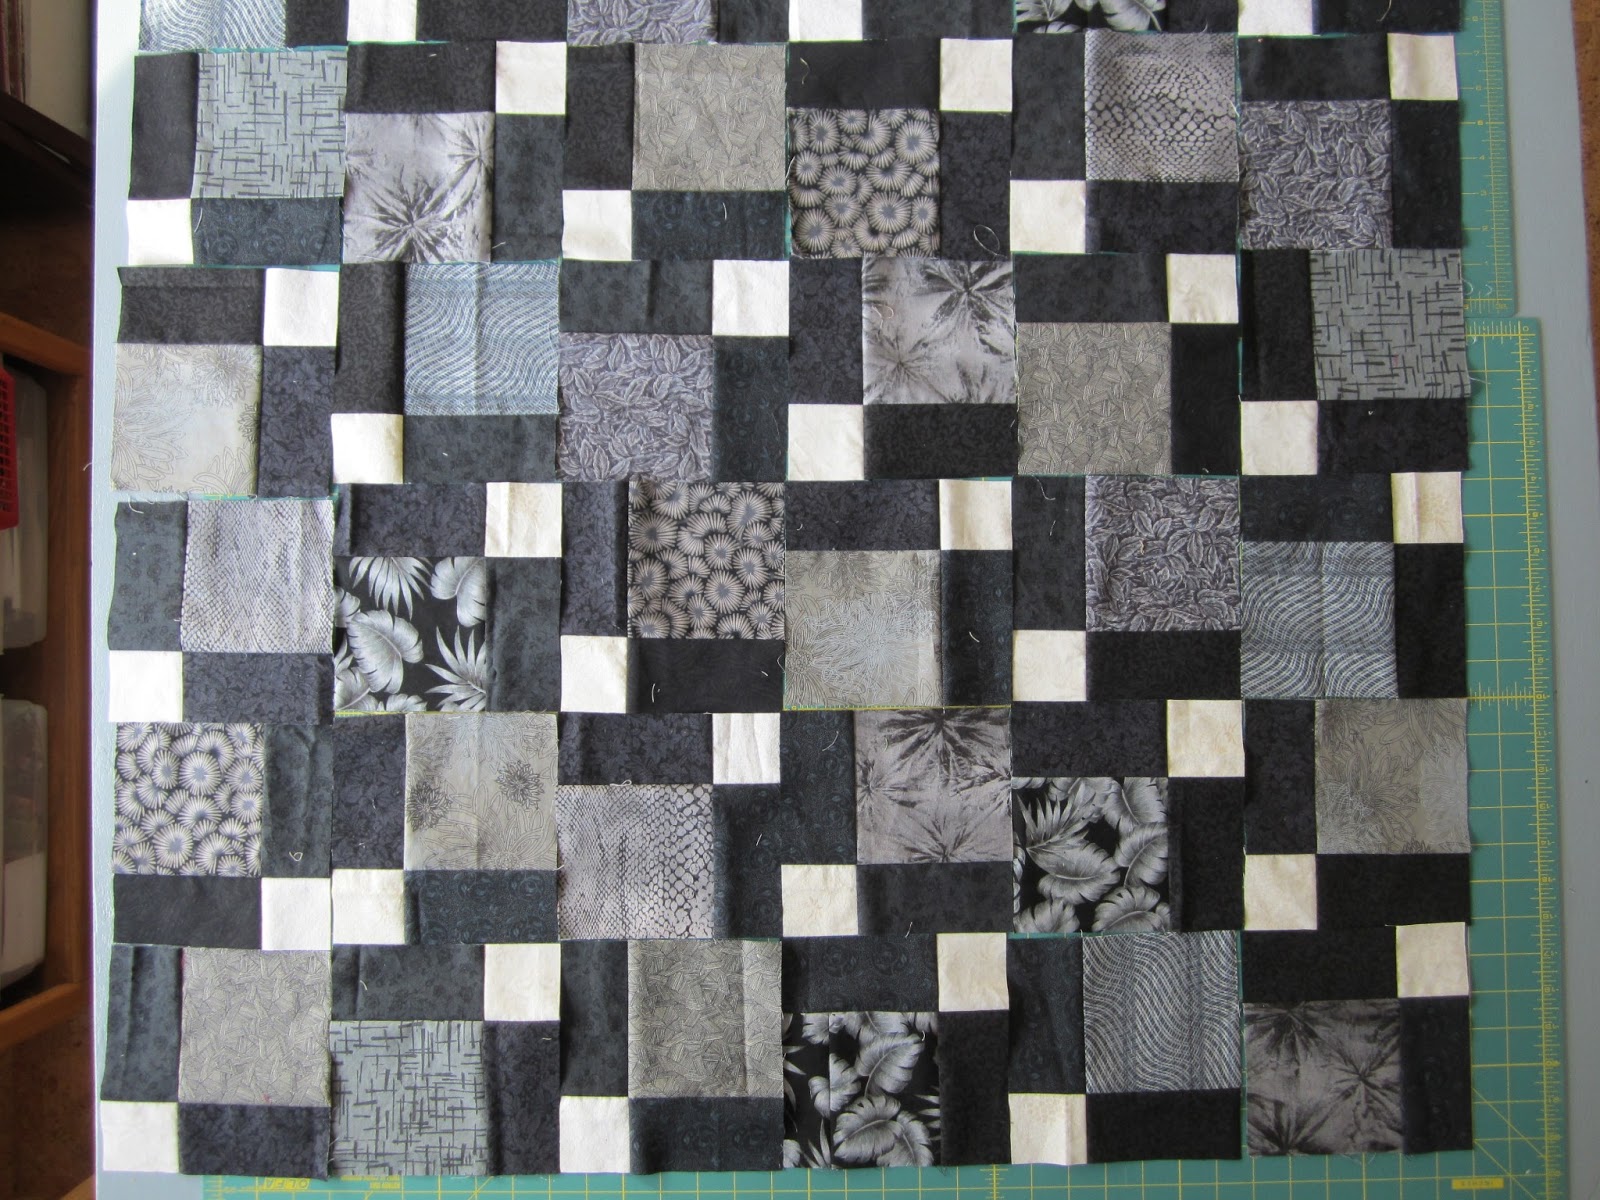
I played with disappearing nine patches and color. The first is what I would call a traditional disappearing nine patch, using a limited palette.
The second one I constructed using the "crazy" ninepatch method (presented by Fons and Porter quite a few years back) and more recently as a tutorial on
Oh Fransson, by Elizabeth Hartman. After I constructed the blocks, I cut them as I would for a DNP and sewed them back together.
Scrap Attack
Scraps were taking over my sewing table. The pieces were of varying heights - from 1.75" to 3.0" unfinished. I sorted them all then sewed those of similar heights together in long strips. Then I incarcerated them behind horizontal bars. They can't get away now.
 |
| Behind Bars |
Back to School
I have devoted the biggest chunk of my recent quilting efforts to an online course at
Quilt University.com. It is Elizabeth Barton's class, Inspired to Design. This is a very good course. I don't have an art background and don't aspire to be an "art" quilter, but I do like to learn new approaches and techniques. This class takes an artist's approach. That is just fine by me. I've been selecting photos for inspiration, developing a main idea, making sketches of all sorts, learning about colors and how they work together, planning a value sketch so that I end up with a balanced piece of work, picking out potential fabrics that fit the main idea. No sewing, yet. The next lesson will introduce that aspect and I get to put all the pieces together. That will be the topic for the next blog or two.
 |
| Glass flowers by Dale Chihuly - Seattle Center |
This is my inspiration photo....